【注意】最后更新于 July 21, 2018,文中内容可能已过时,请谨慎使用。
从源码编译安装旧版本 qbittorrent,别问我为什么要安装旧版。
{% note default %}
以下内容转载至:
https://www.cnblogs.com/shuochen/p/8533712.html (仅作为备份)。
英文原版:
https://github.com/qbittorrent/qBittorrent/wiki/Compiling-qBittorrent-on-Debian-and-Ubuntu 。
{% endnote %}
一、安装依赖环境
① 安装一般依赖包
1
2
3
|
sudo apt-get install libboost-dev libboost-system-dev build-essential \
     libboost-chrono-dev libboost-random-dev libssl-dev libgeoip-dev \
     git pkg-config automake libtool
|
② 安装 Qt5 库
1
|
sudo apt-get install qtbase5-dev qttools5-dev-tools
|
③ 安装 python 和 GeoIP 数据库
1
|
sudo apt-get install python geoip-database
|
二、安装 Libtorrent
① 下载 Libtorrent 包并打开
1
2
|
sudo git clone https://github.com/arvidn/libtorrent.git
cd libtorrent
|
② 选择 1.0.*分支编译安装
1
2
3
4
5
|
git checkout RC_1_0
./autotool.sh
./configure --disable-debug --enable-encryption --prefix=/usr --with-libgeoip=system
make clean && make
sudo make install
|
三、编辑安装 qBittorrent
① 从 github 下载对应版本的 QB 安装包
QB 历史版本下载:https://github.com/qbittorrent/qBittorrent/releases
如编译安装 3.3.11 版本的 QB
1
2
3
|
wget https://github.com/qbittorrent/qBittorrent/archive/release-3.3.11.tar.gz
tar -xzvf release-3.3.11.tar.gz
cd qBittorrent-release-3.3.11
|
② 编译 qBittorrent
需要 GUI 则可以取消后面的 disable 参数。
1
2
|
./configure --prefix=/usr --disable-gui
make && sudo make install
|
这里编译的时候如果提示错误 缺少 zlib 运行以下命令即可
1
|
sudo apt-get install zlib1g-dev
|
四、运行 qBittorrent
① 初始化 QB(设置中文)
运行以下命令
1
2
|
qbittorrent-nox  # 无 GUI
qbittorrent      # 有 GUI
|
运行后会提示输入,输入 y,然后回车即可,这时打开第 ③ 步中的地址,进入后打开设置,在 WEBUI 里将语言改成中文,然后 Ctrl+C 结束,再次输入命令运行 QB,这是刷新网页就是中文了,意思就是设置完需要重启下客户端才能使语言修改生效,其它设置类似。
② 在后台运行 qBittorrent
因为直接运行 QB,退出 shell 窗口的话就会关闭,所以我们可以用 nohup 的方式运行 QB
1
|
nohup qbittorrent-nox &
|
这样 QB 就已经稳定在后台运行了,即使你关闭 shell 也不会结束的。
③ 访问 qBittorrent 的 Web-UI
默认地址: http://IP 地址:8080
默认用户名: admin
默认密码: adminadmin
其他
魔改
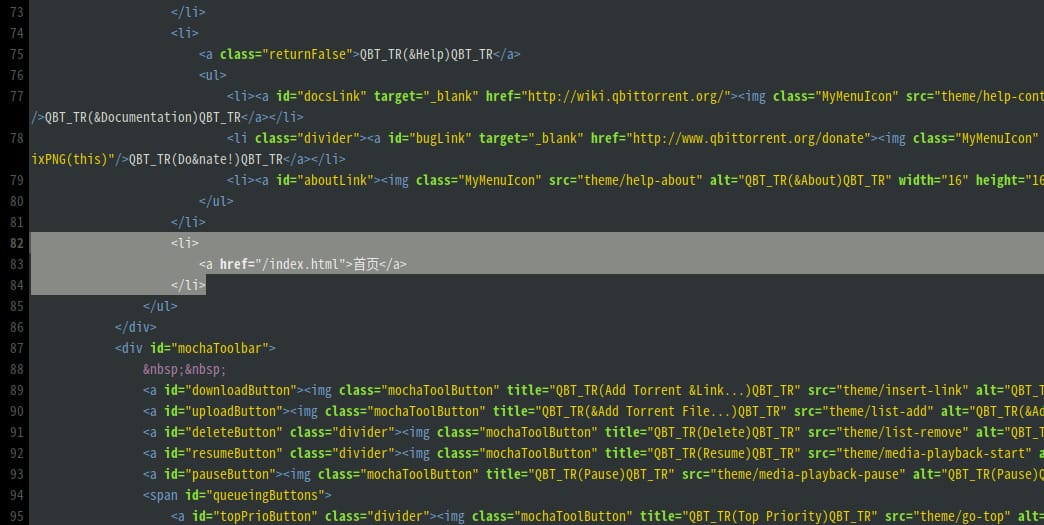
效果如下:

- 在 web UI 上添加一个返回的超链接 “首页”.
 1
 2
 3
 4
 5
 6
 7
 8
 9
10
11
12
|
vim qBittorrent-release-3.3.9/src/webui/www/private/index.html

# 搜索 help-about ,大约在 79 行


                            <li><a id="aboutLink"><img class="MyMenuIcon" src="theme/help-about" alt="QBT_TR(&About)QBT_TR" width="16" height="16" onload="fixPNG(this)"/>QBT_TR(&About)QBT_TR</a></li>
                        </ul>
                    </li>
                  + <li>
                  +     <a href="/index.html">首页</a>
                  + </li>
                </ul>
|
如上 添加 li 和一个 a 标签即可.
- 登录界面
1
加一个 返回按钮,同时添加一行移动端适配代码.
 1
 2
 3
 4
 5
 6
 7
 8
 9
10
11
12
13
14
|
vim qBittorrent-release-3.3.9/src/webui/www/private/login.html
# 添加 移动端适配代码,
# 在 head 中添加
<meta http-equiv="Content-Type" content="text/html; charset=UTF-8" />
+ <meta name="viewport" content="width=device-width,minimum-scale=1.0,maximum-scale=1.0,user-scalable=no" />
<meta http-equiv="X-UA-Compatible" content="IE=8" />
# 修改末尾 submit 按钮
<div class="row"><label for="password">QBT_TR(Password)QBT_TR</label><br /><input type="password" id="password" name="password" /></div>
+ <div class="row"><input type="submit" id="login" value="QBT_TR(Login)QBT_TR" /> <input type="submit" value="返回首页" onclick="javascript:location.href='/index.html'" /></div>
</form>
|
编译
推荐使用 –disable-gui 不要 GUI, 使用 daemon 运行.
 1
 2
 3
 4
 5
 6
 7
 8
 9
10
11
12
13
14
15
|
sudo vim /etc/systemd/system/qbittorrent.service

# 写入一下内容

[Unit]
Description=qBittorrent Daemon Service
After=network.target

[Service]
User=rachpt
ExecStart=/usr/bin/qbittorrent-nox
ExecStop=/usr/bin/killall -w qbittorrent-nox

[Install]
WantedBy=multi-user.target
|
1
2
3
4
5
6
7
8
9
|
# 重载 daemon
sudo systemctl daemon-reload
# 启动
sudo systemctl start qbittorrent
# 状态
sudo systemctl status qbittorrent

# 运行开机自启动
sudo systemctl enable qbittorrent
|
参考文档.
